Lately, I've been asked about some of the animated pics that I've posted on my blog and how I created them. I'd like to welcome you to the world of
Photo Manipulation aka Digital Image Editing. Today, photo manipulation is widely accepted as an art form. I personally love to tamper with my digital photos whenever given the chance. Photo editing is not a new concept by any means. In as early as the 1860s, photographs were already being manipulated, only a few decades after Niepce created the first photograph in 1814. Fastforward to 2010 and we now have access to high resolution cameras, powerful pc's and sophisticated photo editing software. I'll be the first to admit that I'm not a professional photographer and terms like ISO, Aperature and Shutter Speed tumble around in my head like underpants in the dryer. The beauty of the world wide web is that it offers hundreds of free online photo editing websites.
Photo editing is not only fun but also a pretty essential element if you want your pictures to look good.
Today I'd like to share with you some of my favorite
free online photo editing sites {because not all of use can afford the latest addition of Adobe Photoshop}
#1
Photobucket
Not only is this a reliable online photo storage site but I like to use Photobucket for the bulk of my editing needs. This site is great for assigning HTML codes to your pictures. {if you're a blogger you'll understand why HTML codes are important} These codes can be copied very easily and used in blog posts or on your Myspace page. Photobucket also assigns codes for email, IM, direct link and IMG, all used for different applications. It is very user friendly and easy to navigate. It has basic editor and advanced editor options for enhancing photos. You can access simple applications such as resizing and adding text or more advanced features such as color saturation and histograms. A quick story to share with you. When Pearl was 1 week old I was attempting to reformat my memory card. In the process of reformating I lost
all of her pics from birth and her first week of life!
*gasp* If you're wondering, Yes, I was crushed like a empty coke can under the feet of a 12 year old boy! If you're a Mom you know how special these photo memories are! Even her first bath pic was deleted! :( Ever since that horrific experience I always make sure to save my pics to a disk regularly and I also make sure they are saved to a online photo storage site! Photobucket allows you the option to share with others online or to keep your photos private.
#2
Picnik
95% of what you'll do in Photoshop you can do in Picnik and just as easily. My favorite feature of Picnik is the unlimited undo button. You can edit to your hearts delight then remove each application, layer by layer, with the undo button. The one down fall of this site is that those who opt to use it as a free member are deprived of some of the premium features. Despite this, I've found that it has more than ample options for the average user. It has many powerful editing tools as well as great special effect features to add to your photos. I also love this site for its great selection of fonts. Sue Ellen Francis is my favourite font to use. I also love the vintage editing tool that enhances photos to make them appear as if they were taken in the 1960's. If you've browsed my blog than you may have noticed the neat "daisy frames" or "polaroid frames" that I'v added to some of my pics. This site offers these features along with many others.
#3
Fotoflexer
This is a great instant editing site without having to become a member. Like other photo editors, it also has an array of editing tools such as auto-fix, redy-eye adjust, and cropping. It also offers some extra feautres such as animated stickers, photo frames and glittered text.
#4
Lunapic
If you like to morph your photos, add animation or just have fun with editing than you must check out this site. In my
Cake Pops post I used the reflection application to add a bit of animation to one of my photos. Lunapic does not impress me with it's image editing tools, but it does make up for this with it's unique animation and image creation tools. Lunapic will generate a HTML code for bloggers or Myspace users but I've found it much more difficult and slower at generating this code than say Photobucket.
Even though I consider myself a loyal user of sites such as Picnik and Photobucket, I will stop by Lunapic every now and again to take advantage of its amazing animation effects.
#5
Big Huge Labs
When I want to have even more fun with my photos I visit this site. It offers cool features such as photo collages, vintage photobooth strips, and tons of unique frames. Why not add your child to a magazine cover or announce something important on a billboard while visiting this site?
Honorable Mentions
Picasa
Oldify Me
Now, for some examples of before and afters! {Prewarning- I am not a professional photographer. I'm just a hobbyist and a Mom who likes to take photos of her kids and enhance them slightly. Therefore, you may find these pics pathetic and very amateur but I'm just demonstrating some of the techniques available} Click pictures to enlarge. This way you'll be able to fully see the effects I used !
Opal riding his bike! Color splash technique by Photobucket

A tree on our farm! Color enhancing using Picnik
Some clouds on our farm. I used the circle splash tool to make it apper as if the sun was trying to burst through the clouds.
Opal and Daddy walking the farm. I used Picnik and Oldify Me to edit this photo
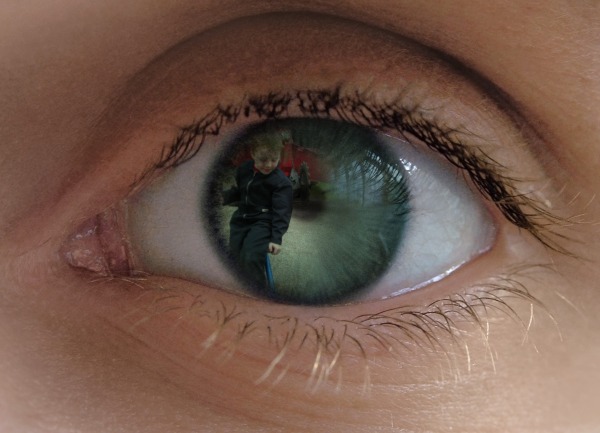
Look closely and you'll see Opal sitting on his tricycle. I used Lunapic for this photo
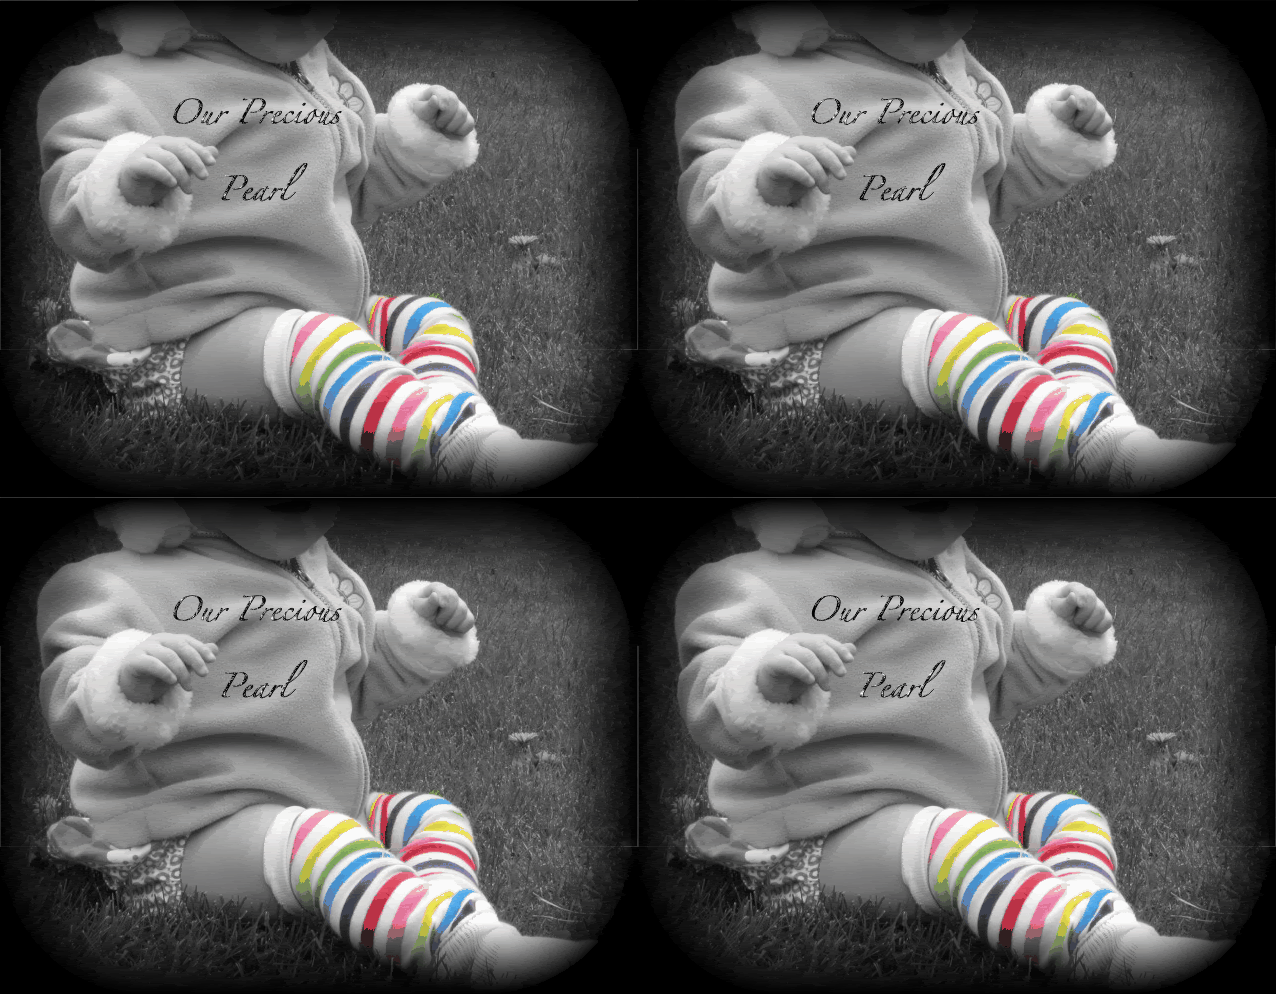
Pearl sitting on the front lawn. I used color splash, glitter text, cropping and vingette framing
This is Opal and Sapphire at the zoo. {sorry about the head cropping but I have privacy issues when it comes to putting photos of my kids online} This is the reflecting water animation tool from Lunapic
These are just a few of the many tools and applications available. One thing I'm still toying with is watermarking my photos. I haven't found a great site for watermarking. If you're not familiar with watermarking it's basically putting a stamp on your photos. Watermarking helps to prevent photo theft when posting photos online! Can anyone help me find a good site for watermarking? Also, I'd love to hear from you what other sites you use to edit photos. I would like to check them out!























 Posts



